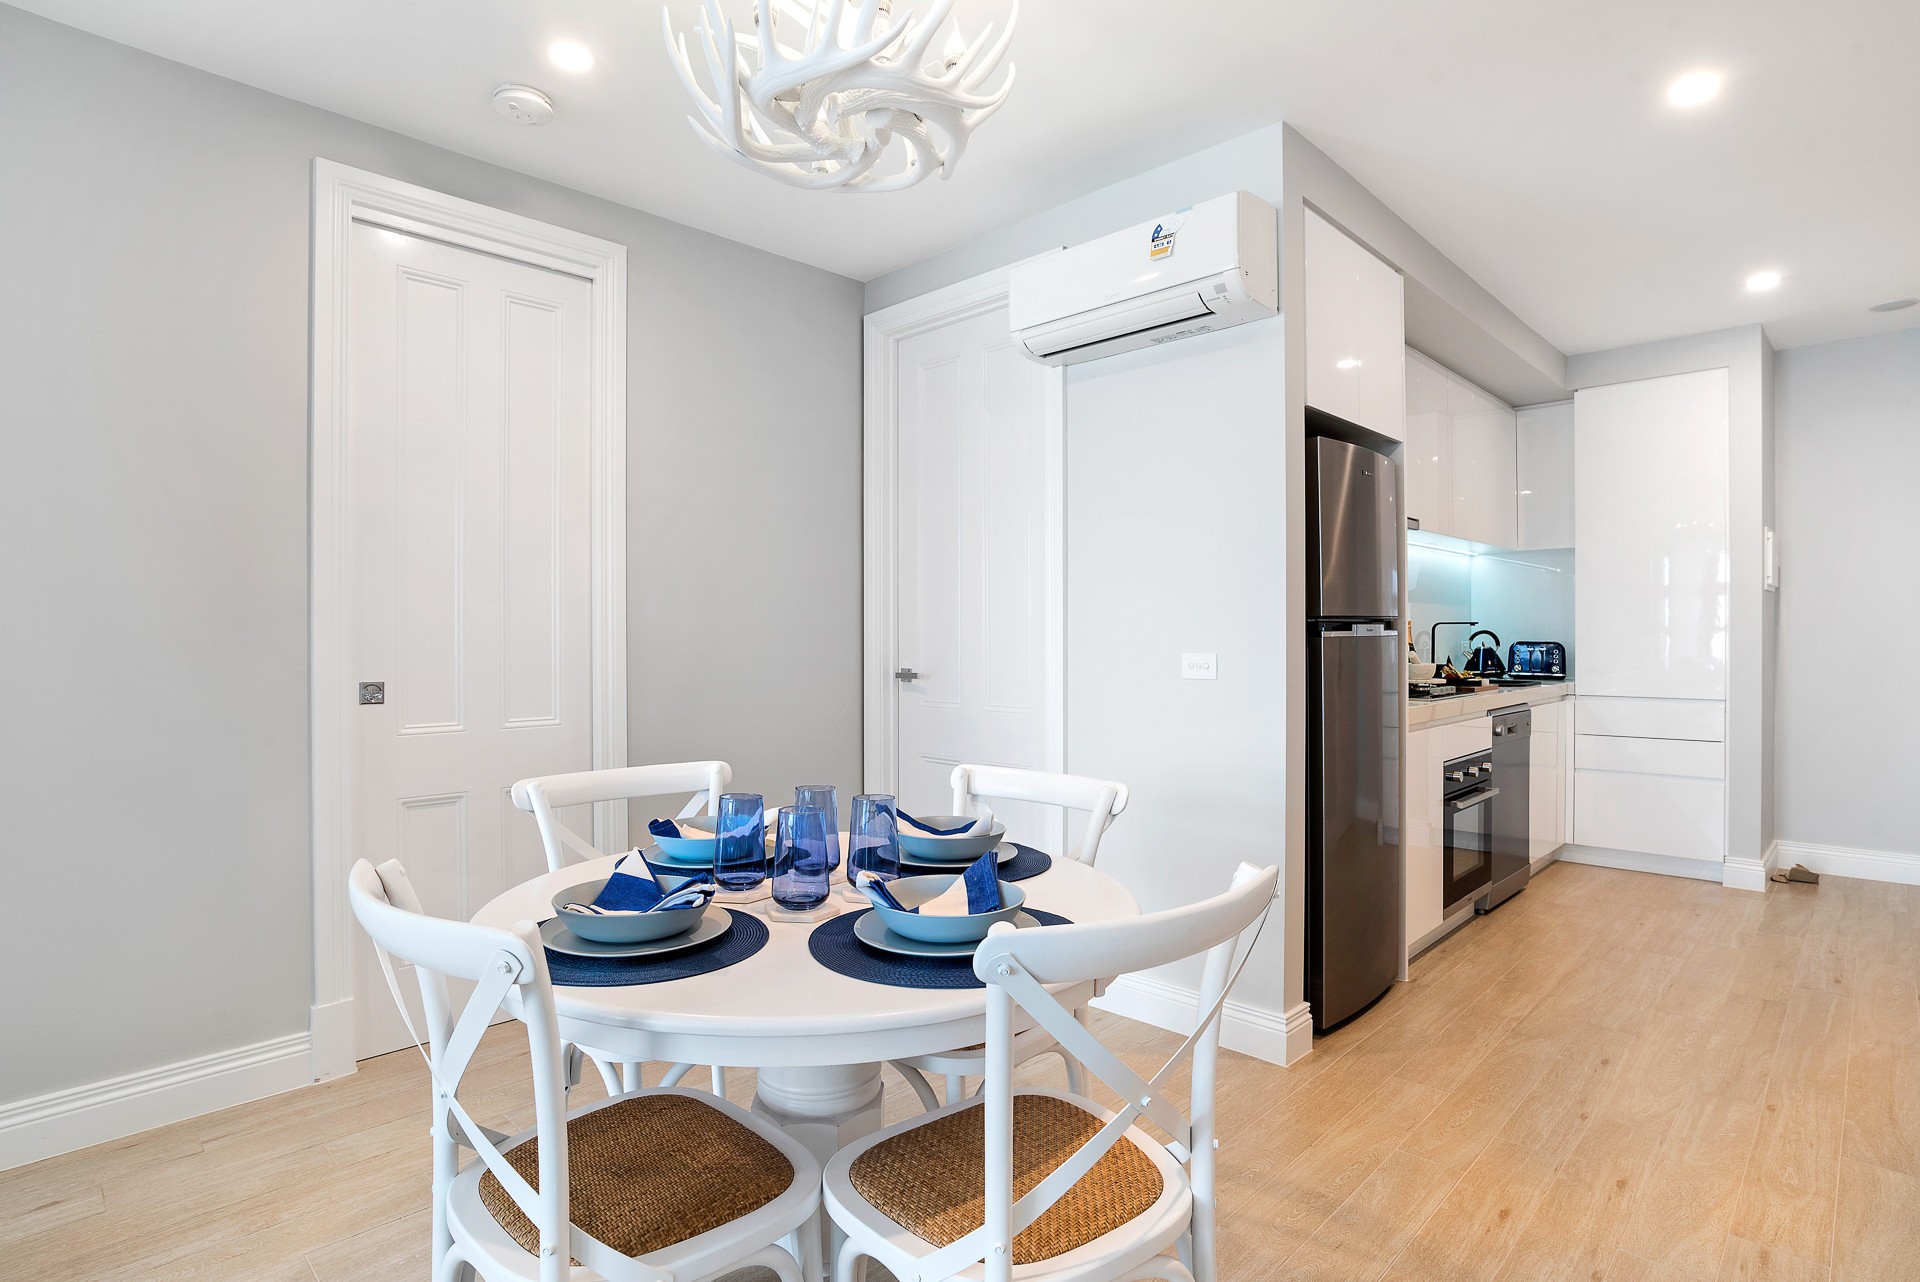
When the summer rolls around in Australia and the temperatures start to soar, having a reliable air conditioning system at your disposal can be an absolute godsend.
Given how high energy prices are right now, you’ll obviously want a system that is as energy-efficient as possible, which might require buying a new model. However, once you have done this, you’ll also need to prepare your home for the installation process.
Regardless of whether you are hiring professionals to put in your new unit or plan to do it yourself via a DIY installation repair guide, the better you prepare your home for the system, the fewer potential issues will arise, and the greater your AC’s performance will be.
So, how can you best prepare your home for the installation of a new air conditioning system?
Here are six steps you can take.
1. Buy the Right Type of Air Conditioner
The first stage of the process is to buy the right air conditioner for your home or the space you want to keep cool.
Overall, there are four main types of AC units you can choose from. This includes window units, which are ideal for single rooms and are much easier to install, and split systems, which are best for cooling multiple rooms via either indoor or outdoor units.
Additionally, you can also choose from ducted systems, which are fantastic at cooling your entire home, although they would require professional installation, or portable units, which is a popular solution among renters and those who intend to use it for short-term use.
When deciding on the right system for you, make sure you research its energy efficiency, cooling capacity (which is measured in BTUs), and installation requirements.
Here is some more information about what to look for when buying an air conditioner.
2. Decide Where You Will Put It
Where you will put the air conditioning system you buy might play a part in your decision-making process. But if it didn’t, then you will have to decide this once you purchase it.
If you are using a professional to install it for you, they will be able to advise you on the best spot to put it. But if you are not, then you will need to determine what part of your room will facilitate the best airflow.
To do this, you’ll have to inspect the structural strength of the window frame or wall to see if your system is a window- or wall-mounted unit. You may have to reinforce weak structures to ensure they withstand the weight of the system.
Additionally, it is important to choose a location that has proper ventilation and avoid placing the unit near heat sources like ovens or direct sunlight.
3. Declutter and reconfigure the room
The more furniture and items you have in a room, the more work your air conditioner will have to do to cool it. For this reason, it is an excellent idea to clear out all the excess things you no longer require.
By doing this, you’ll create more areas for cool air to flow around. You might even want to reconfigure the furniture in the room to facilitate this further.
4. Create a Safe Workspace
Before the air conditioning system is installed, it’s essential to create a safe and organized workspace. This is particularly important for Melbourne serviced apartments, where ensuring a clean and hazard-free environment enhances guest comfort and safety.
Start by temporarily removing furniture, artwork, or décor near the installation site to prevent obstructions and reduce accident risks. Lay down protective covers like drop cloths or plastic sheets to safeguard floors and walls from dust and debris.
If your serviced apartment caters to families, consider setting up childproof gates or temporary barriers around the work area to prevent young children from accessing the space. Maintaining a well-prepared and secure environment ensures a seamless installation process while upholding the high standards expected in serviced apartments in Melbourne.
5. Prepare Your Tools and Materials
While it is always preferable to outsource the installation of an air conditioning system to a fully licensed HVAC professional, if you plan on doing the job yourself, you will need to make sure you have all the right tools and materials available. This will save you time and prevent any unnecessary delays from arising.
Depending on the type of air conditioner you bought, you might need the following pieces of equipment to install it successfully.
Depending on what system you have, you might need other tools specific to it if you plan on putting it in yourself. So, make sure you refer to its instruction manual for guidance.
6. Do Your Research
Before you begin a DIY installation process, thoroughly research how to do it.
Reading the instruction manual from cover to cover is a good start. However, you should also search on YouTube to see if there is a video guide you can watch. If there is, you will get a more visual appreciation of the scope of the work required and the step-by-step process involved in putting it in.
You may even find some tips for maintenance and home repair hacks should it need some repairs.